
Crafting is a physical logistics loop: acquire and place the machine, inspect a blueprint, prepare material, then review an output before committing.
The best first craft is a low-consequence item that teaches the material and storage interfaces without consuming rare inputs.
Refinery, freight elevator and fabricator inventories can be separate states, so verify each transfer rather than assuming materials are globally available.
Material quality can matter, but the exact effect and thresholds are patch-sensitive; use the live projected result.
Where you are going
Refinery station shop
Purchases the physical crafting unit.
Personal hangar freight elevator
Stages, places and supplies the fabricator.
Refinery terminal
Creates and later collects ore work orders.
Fabricator interface
Inspects blueprints, assigns material, queues crafts and dismantles gear.
What you need and why
Provides the crafting and dismantling interface for the workflow.
No substitute listedMoves the large machine and physical materials between vendor, hangar and storage.
Alternative: Use a hangar/freight route that can accept the unit directly.Defines the item and exact materials that can be fabricated.
No substitute listedMakes physical placement and material handling more controlled.
Alternative: Use a compatible ship tractor beam.Supports the chosen mining, hauling, salvage or recycle route.
Alternative: Acquire verified materials through trade or dismantling.What to look for
Confirm it can be transported, placed and interacted with before purchase.
Copy the live material names and any quality information before gathering resources.
Check that the fabricator sees the intended local inventory or inserted materials.
Verify processed materials are collected through the correct storage path.
Review it before committing rare materials or starting the fabrication queue.
When it goes wrong
Stop before retrieval, use a cargo-capable ship or a valid freight route, and confirm physical clearance rather than trying to force it through a small bay.
Verify whether they remain in refinery output, ship cargo, freight elevator or local inventory, then move them through the expected storage path.
Confirm the mission completion text, then inspect the appropriate home-location or blueprint collection interface before repeating the reward branch.
Cancel the queue, manually review material assignments and craft a lower-value test item or use common material instead.
Read the recycle preview before confirming, use common unwanted gear first, and record which materials actually return on the current patch.
Rewards and progression
↳ Crafted gear or items determined by owned blueprints and supplied material.
↳ Recovered material from dismantling where the current recycle preview confirms it.
Departure checklist
□Confirm fabricator transport and placement.
□Place it beside usable local storage.
□Select one understood blueprint.
□Copy exact ingredients.
□Choose and verify material sources.
□Collect refinery or recycle output.
□Review material assignments and projection.
□Verify finished item and store leftovers safely.
- 01
Buy the RediMake Item Fabricator
The item fabricator is called the RediMake Item Fabricator — 100,000 aUEC, 16 SCU. It's sold widely: refinery terminals at every major Lagrange point in Stanton (ARC-L1/L2/L4, HUR-L1/L2, MIC-L1/L2/L5, CRU-L1, Terra/Nyx gateway refineries), at Pyro's Checkmate/Orbituary/Ruin/gateway refineries, and at Nyx's Levski/gateway refineries — plus a few non-refinery vendors like Dumper's (Area 18) and Tammany and Sons. You don't need to travel far; check the refinery terminal nearest your home location first.
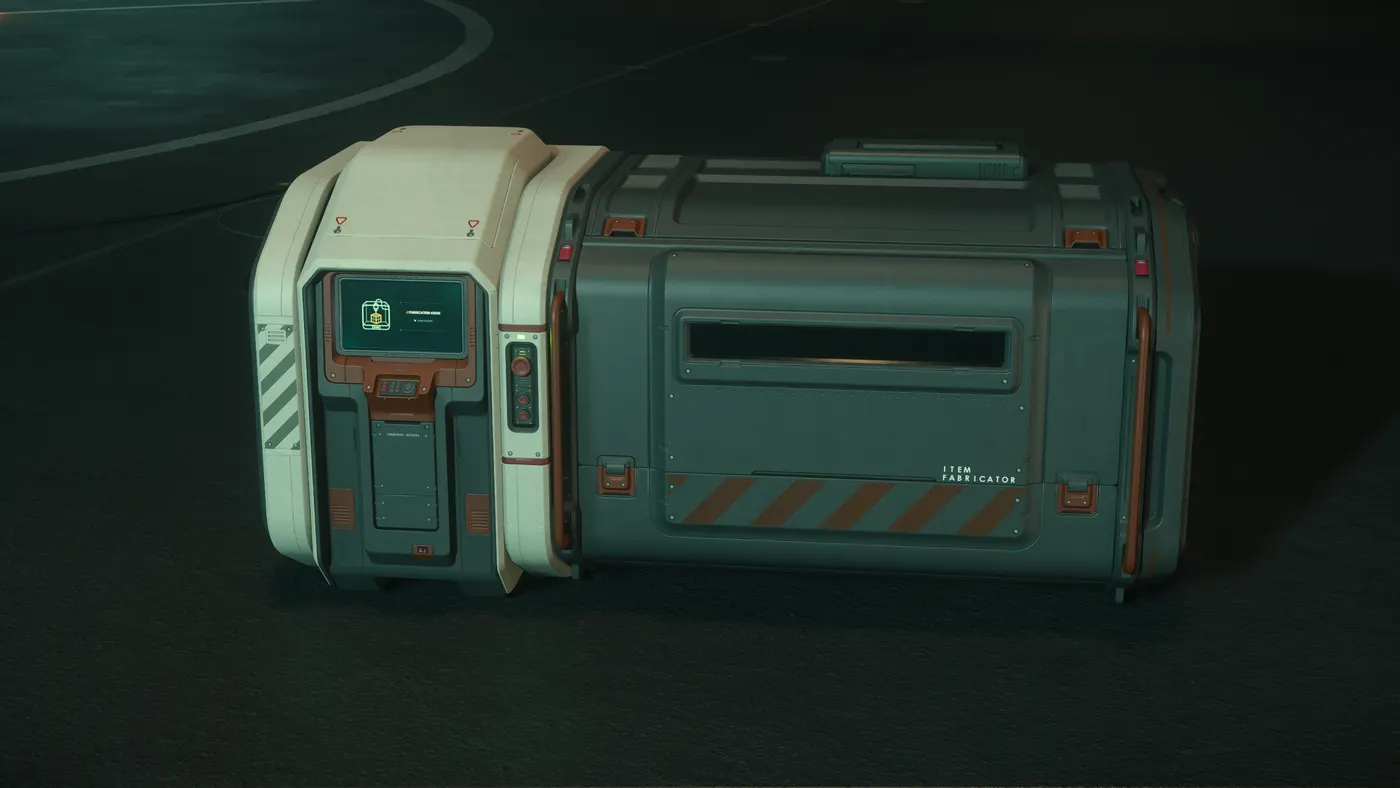
A RediMake item fabricator placed in an asteroid hangarScreenshot by Braxton2409 via Star Citizen Wiki (CC BY SA 4.0) — game content © Cloud Imperium Games ↗ - 02
Place it beside usable storage
Move the fabricator to a personal hangar freight-elevator area or comparable valid location with reliable access to local inventory. Position it so the interaction panel and loading area remain reachable, then confirm the fabricator interface recognizes the location and available storage.
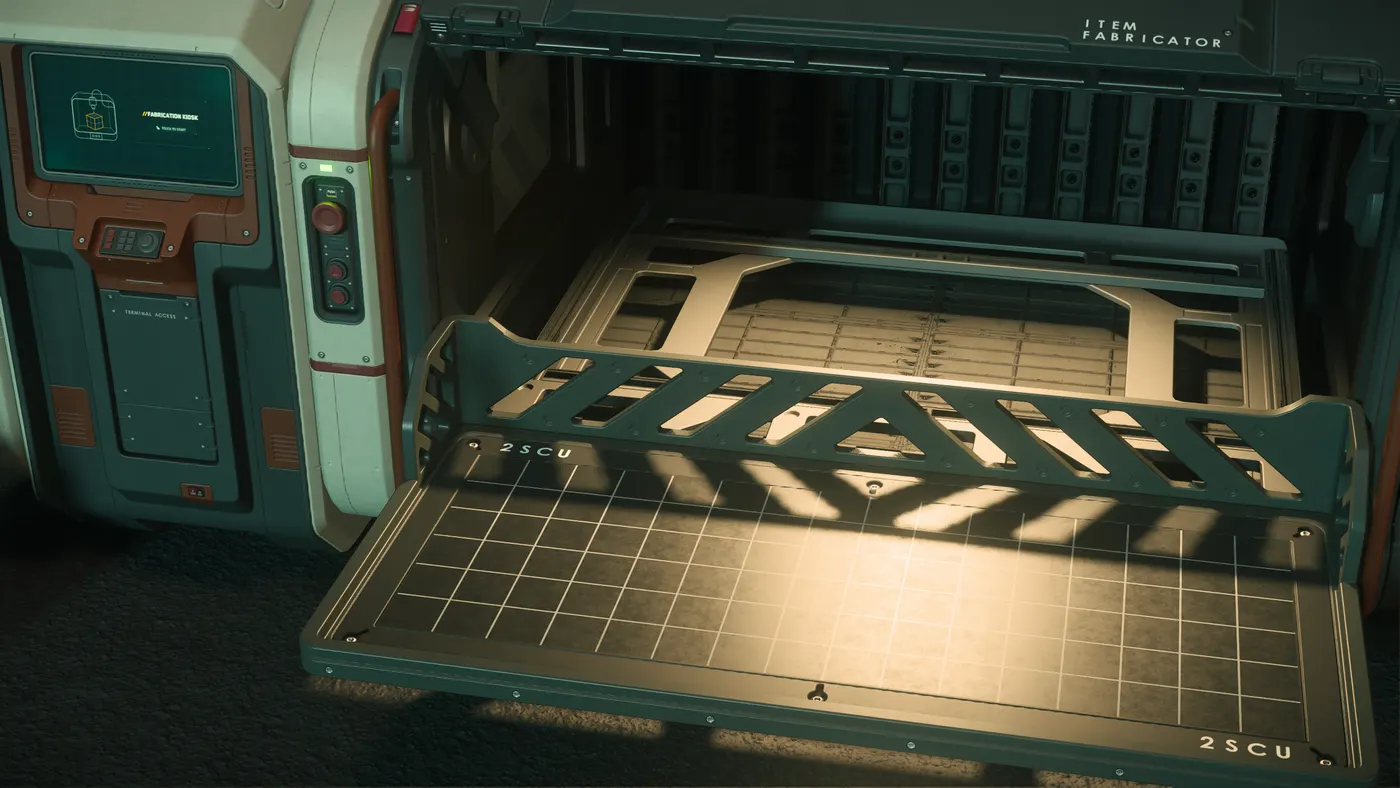
Close-up of a RediMake item fabricator with its fabrication grid openScreenshot by Braxton2409 via Star Citizen Wiki (CC BY SA 4.0) — game content © Cloud Imperium Games ↗ - 03
Choose a blueprint deliberately
Open the fabrication interface's blueprint list and select one item whose ingredients and outcome you understand. For mission-reward blueprints, read contract reward text and record ownership after completion because reward pools and sources can vary.
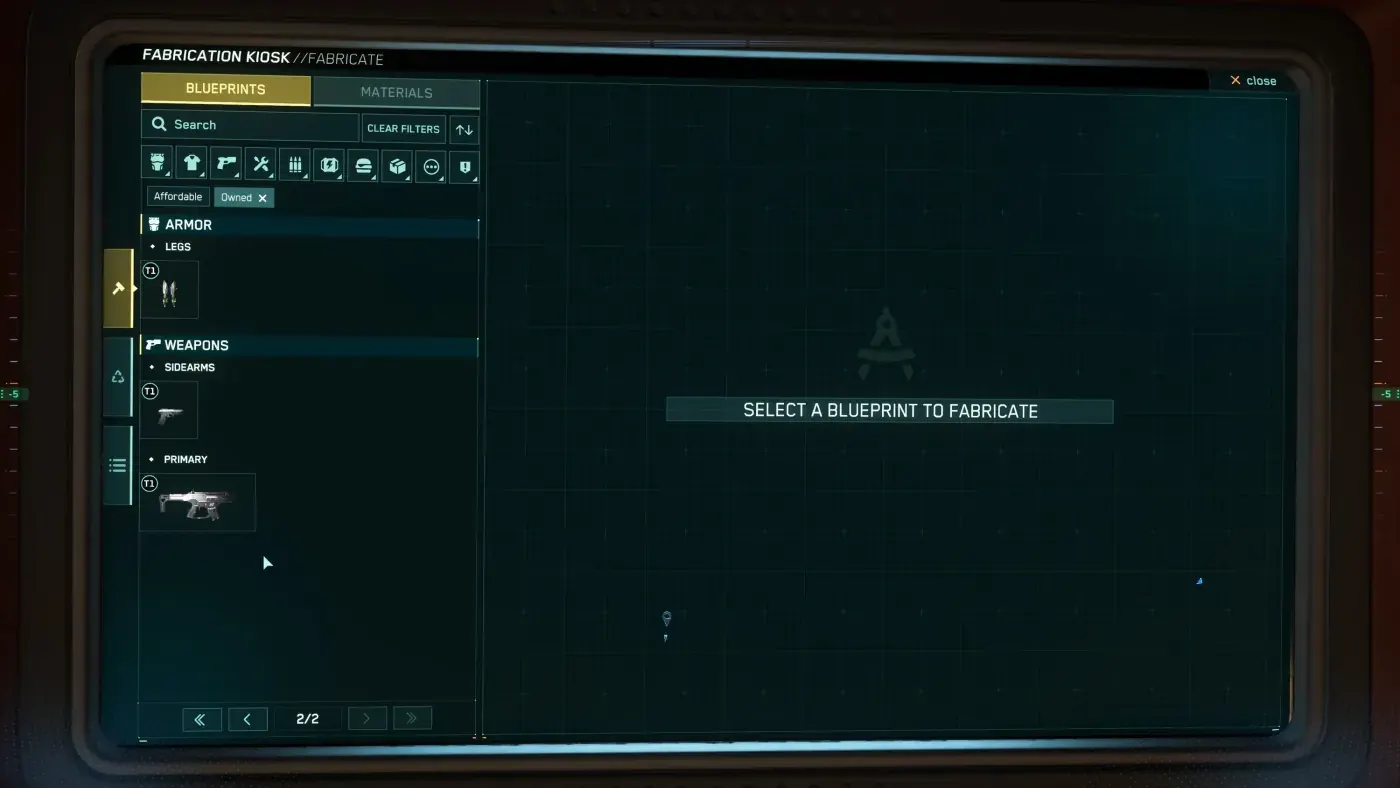
The blueprint list in the RediMake item fabricator interface© Cloud Imperium Games via Star Citizen Wiki, used under the CIG Fan Content policy ↗ - 04
Build a material plan around quality
Every resource in the game carries a quality value from 0 to 1000, and that value directly affects the crafted item's stats. Read the blueprint's exact material list, then decide whether each input comes from mining, refinery output, trade, salvage or recycled gear. Autofill will pick materials for you, but mixing different qualities for the same slot averages out to a middling result — manually assign your best-quality material to the slots that matter most if you want a top-tier result.
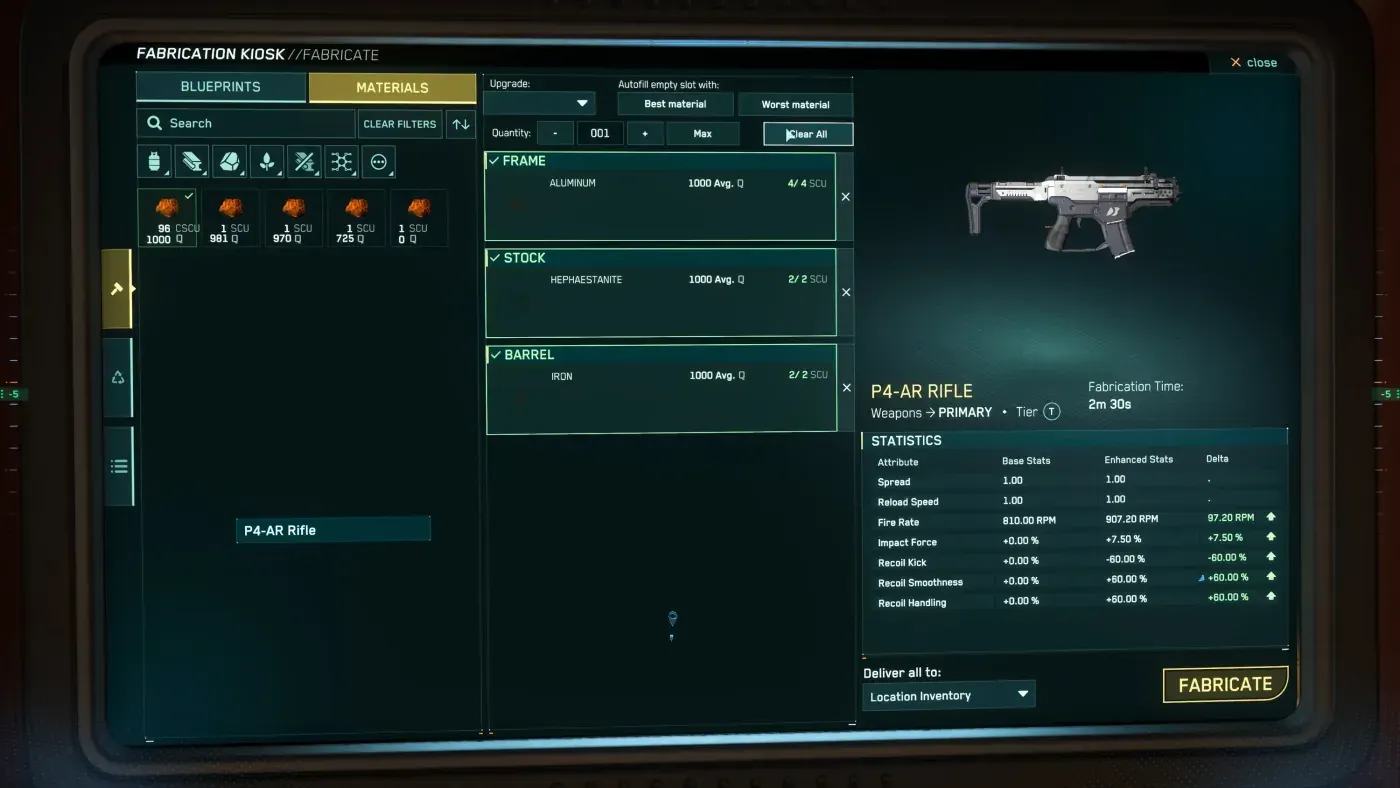
The crafting screen of the RediMake item fabricator with its material slots© Cloud Imperium Games via Star Citizen Wiki, used under the CIG Fan Content policy ↗ - 05
Refine or dismantle for materials
For mined ore, use a refinery terminal to create the appropriate work order, then collect the processed output through the resulting storage/cargo flow before returning to the hangar. For dismantling, place unwanted weapons or armour in the fabricator's recycle grid and inspect the recovered material preview before confirming — dismantling common loot is a safer first material source than chasing rare mining.
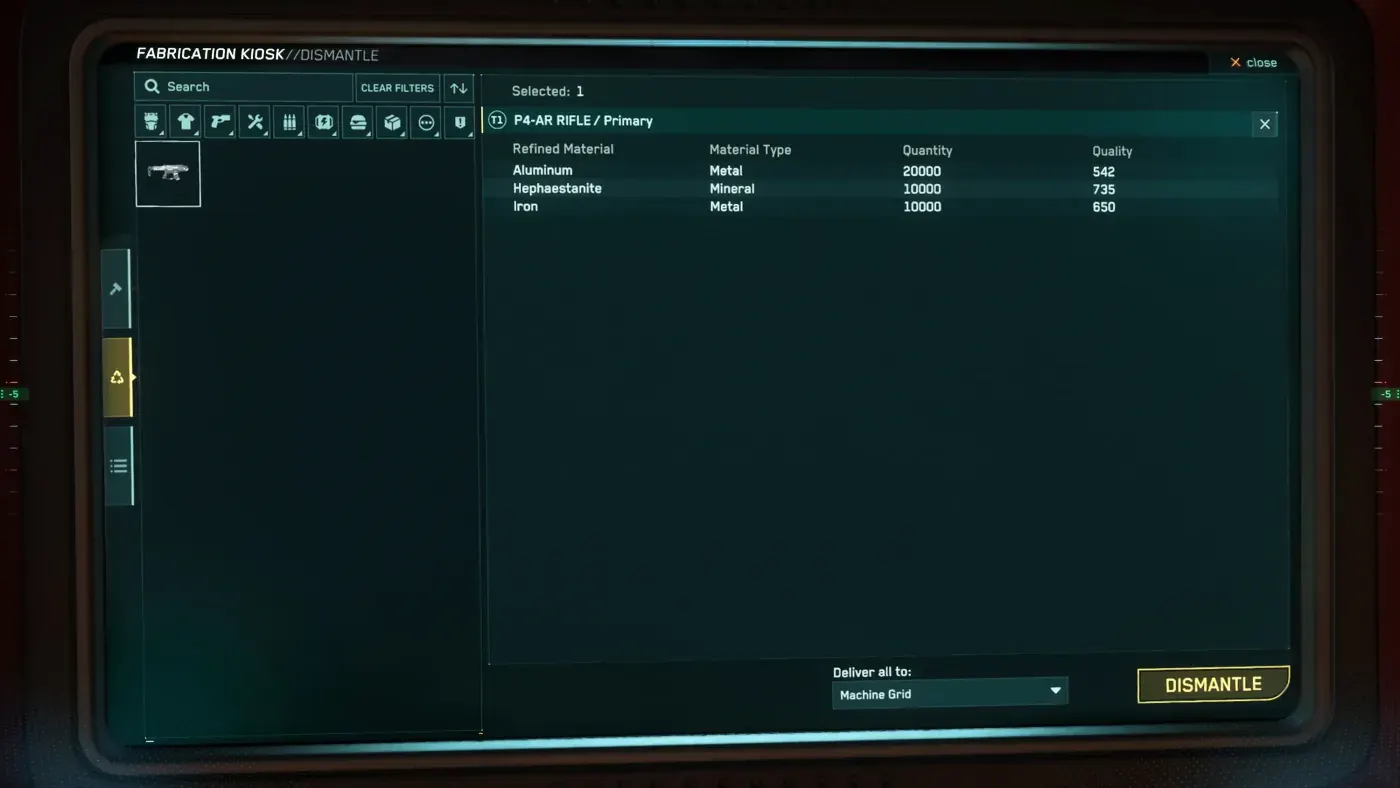
The dismantling screen of the RediMake item fabricator© Cloud Imperium Games via Star Citizen Wiki, used under the CIG Fan Content policy ↗ - 06
Review the fabrication queue
Select the blueprint, assign materials manually or review the autofill selection, and read the projected output quality before starting. Don't let automatic selection quietly consume your best-quality inputs on a low-value test item.
- 07
Verify output and preserve leftovers
After fabrication completes, confirm the finished item appears in the expected local, hangar or output inventory, then move it to safe storage. Record the input quality and result for future crafts and keep remaining high-quality material separate from common stock.
Field notes
↳ The RediMake is 16 SCU — check your ship or freight route can actually move it before buying.
↳ Mixing material qualities in one slot averages them — assign your single best-quality stack manually if you want the top result.
↳ Keep the fabricator where local storage access is predictable.
↳ Treat blueprint sources and vendor stock as patch-sensitive; the fabricator itself and the 0–1000 quality mechanic are stable, well-documented systems.
↳ Dismantling common loot can be a safer first material source than chasing rare mining.
Watch the route
Video mechanics can age between patches. Use the written route above as the current checklist.


Research sources
Route text is independently summarized and cross-checked against these references.
Star Citizen Wiki — Item fabricator ↗api.star-citizen.wiki — RediMake Item Fabricator ↗Citizen Deedsy - Crafting 101 ↗MrKraken - Crafting Crash Course (4.7) ↗