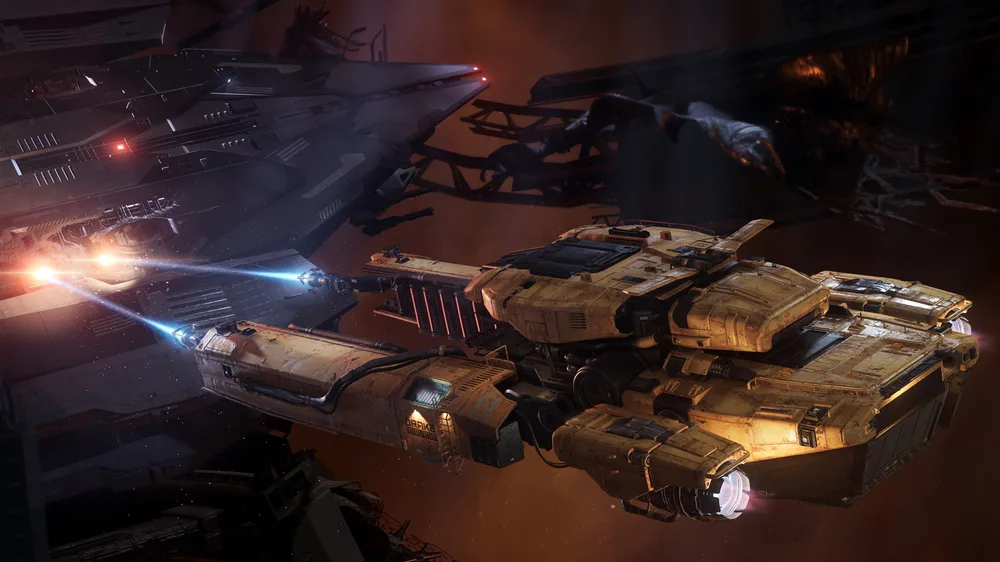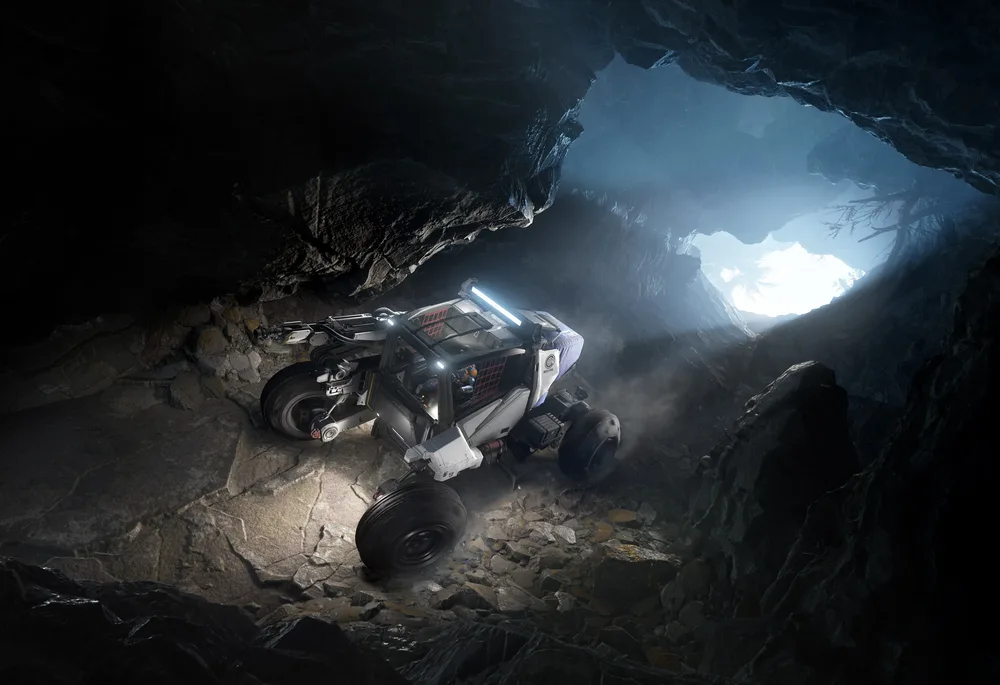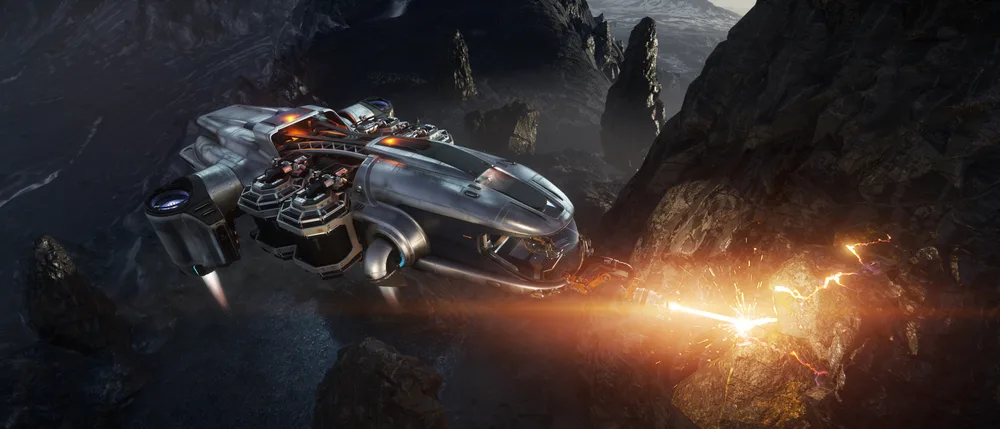
Mining is a scan-and-match problem: read the rock’s resistance and instability, then answer with a head and module whose modifiers cancel them.
Head modifiers swing individual parameters by 30–60%, and module slot count varies from zero (Klein-S1) to three (Helix II).
Active modules are consumables with fixed uses and durations — pacing them is the actual skill.
Refining and hauling are separate exposure stages, and only 22 recorded locations refine at all.
Where you are going
Mining field
Locate deposits with V and an active ping.
Stanton Lagrange refineries
The safe, monitored refinery set.
Pyro refineries
Refining without leaving Pyro.
Gateway and People’s Service Stations
Refinery coverage on the jump-point and Nyx routes.
Quantainium peak buyers
The top recorded band, around 170,000 aUEC/SCU.
What you need and why
Hofstede −30% resistance and +60% window is a different job from Klein’s −45% resistance and +35% instability.
No substitute listedSlot count runs from zero on a Klein-S1 to three on a Helix II.
No substitute listedOptimum’s −80% overcharge rate is the difference between a save and a shatter.
Alternative: Work lower-instability rocks and skip the module.Torpid’s +60% optimal charge rate over 5×60 s is the biggest single throughput gain available.
Alternative: Accept slower cycles on easy rocks.Screens out inert material, which sells for about 4 aUEC/SCU.
Alternative: Extract selectively by hand and accept the slower sorting.The refinery leg is often the longest part of the trip.
Alternative: Mine within range of a Lagrange refinery.What to look for
High resistance calls for Rime, Surge or a −resistance head like Hofstede or Klein.
High instability calls for Optimum, Stampede or a −instability head like the Arbor MH2.
A wide window (Hofstede +60%, Focus +30%) is forgiveness; a narrow one (Lancet −60%) demands precision.
The valuable fraction versus inert filler — this decides whether the rock is worth the module uses.
Rime has ten, Lifeline only three; pace accordingly.
When it goes wrong
Your head is under-powered for its resistance. Use a −resistance module (Rime, Surge) or a −resistance head, or leave the rock.
Reduce power earlier with Left Alt + Mouse Wheel and fire Optimum (−80% overcharge rate) before you approach the limit, not after.
Your head probably has a narrow window — a Lancet is −60% there. Fit a Focus (+30%) or XTR (+15%) passive, or move to a Hofstede.
Check the head’s slot count. A Klein-S1 has none; an Arbor MH1 and Lancet MH1 have one.
That is inert material, at about 4 aUEC/SCU. Fit an FLTR passive and scan chunks before extracting.
Only 22 recorded locations refine. Route to a Lagrange station, a Gateway, a People’s Service Station or Levski.
Rewards and progression
↳ Refined Quantainium at roughly 140,000–170,000 aUEC per SCU depending on buyer
↳ Mid-tier refined ores: Gold and Bexalite near 29,000, Borase near 27,000, Taranite near 26,000, Agricium near 9,600, Laranite near 8,600, Titanium near 8,100
↳ Hand-mineable gems in a separate bracket entirely — Hadanite around 540,000 and Aphorite around 100,000 per SCU
Departure checklist
□Check the head’s modifiers and slot count.
□Fit one safety and one throughput module.
□Scan with V and read resistance, instability and composition.
□Enter mining mode with M.
□Raise power on Left Alt + Mouse Wheel and hold the green zone.
□Fire the matching active module when the rock resists.
□Extract the valuable fraction only.
□Route to one of the 22 refinery locations and record the collection point.
- 01
Know what your head actually does
Mining heads are not tiers, they are trade-offs, and the modifier values are public. Some real examples: the Arbor MH1 (MISC, size 1) is the Prospector default — 1,850 laser power, one module slot, no modifiers, 30 m optimal range and a generous 150 m maximum. The Arbor MH2 (size 2) doubles to two slots and 2,900 power with −35% laser instability but +25% resistance. The Hofstede-S1/S2 (Shubin) are the forgiving beginner heads: −30% resistance, +60% optimal charge window and +20% optimal charge rate, at the cost of +10 instability. The Klein-S1/S2 are the opposite extreme — −45% resistance but +35% instability, and the S1 has no module slots at all. The Lancet MH1/MH2 (Greycat) trade a brutal −60% optimal charge window for +40% optimal charge rate: fast, but you must be precise. The Helix I/II (Thermyte) are the raw-power option at 3,900 and 4,930, with −30% resistance but −40% window and a short 15 m/30 m optimal range. The Pitman (Drake) gives +40% window but +35 instability and −40% optimal charge rate.
- 02
Pick modules for the slots you have
Slot count varies by head: Klein-S1 zero, Arbor MH1 and Lancet MH1 one, Arbor MH2, Helix I and Lancet MH2 two, Helix II three. Passive modules are always-on: Focus gives +30% optimal charge window; XTR gives +15% window; FLTR-XL screens out inert material to leave more room for valuable ore at the cost of extraction power; Vaux takes −20% optimal charge rate but extracts valuable ore faster. Active modules are limited-use, timed consumables and this is the part most guides skip.
- 03
Learn the active-module numbers
Every active module has a fixed number of uses and a fixed duration, and those govern how you pace a rock. Torpid: 5 uses × 60 s, +60% optimal charge rate, −60% overcharge rate, +40% shatter damage — the throughput workhorse. Optimum: 5 × 60 s, −10 instability and −80% overcharge rate — the safety net, at the cost of overall laser power. Rime: 10 × 20 s, −25% resistance and −10% shatter damage — the most uses of any active. Surge: 7 × 15 s, −15% resistance but +10 instability — a short, sharp push through a stubborn rock. Lifeline: 3 × 15 s, −20 instability and −15% resistance but +60% overcharge rate — powerful and genuinely dangerous. Brandt: 5 × 60 s, +15% resistance but −30% shatter damage. Stampede: 6 × 30 s, −10 instability and −10% shatter damage.
- 04
Scan and evaluate before powering up
V enters scan mode; hold and release V for an active radar ping. Close in only once the signature resolves, and read mass, resistance, instability and composition before you touch the laser. The decision you are making is which of your modules the rock needs: high resistance wants Rime or Surge, high instability wants Optimum or Stampede, a rock you simply want off the field faster wants Torpid. Mark a working position that leaves you an exit vector.
- 05
Fracture with the charge in the green
M toggles mining mode; Left Alt + Mouse Wheel raises and lowers laser power. Raise power gradually and keep the charge inside the optimal window, backing off before instability pushes it toward overload. Fire your active module when the rock is fighting you, not preemptively — a Surge is 15 seconds and you only get seven of them. Watch the actual charge behaviour rather than a remembered power setting: your head’s window and charge-rate modifiers change how the bar behaves.
- 06
Extract the valuable fraction, not everything
Scan the fractured chunks and extract the valuable material first. Inert Materials sell for about 4 aUEC per SCU — effectively nothing — so filling a hold with them is a wasted trip. This is exactly what the FLTR family of passive modules exists to prevent. Stop before a full hold forces you into a bad final rock.
- 07
Refine at a station that has a refinery
Only 22 recorded locations offer refinery services, and knowing them saves a wasted leg. In Stanton: ARC-L1, ARC-L2, CRU-L1, HUR-L1, HUR-L2, MIC-L1 and MIC-L2. In Pyro: Checkmate Station, Orbituary and Ruin Station — all three contested. In Nyx: Levski. Plus the jump-point Gateway stations (Stanton, Pyro, Nyx and Terra Gateways) and the four People’s Service Stations (Alpha, Delta, Lambda, Theta). Review the work-order options, duration and yield trade-off at the terminal rather than trusting an old screenshot, then record where the output has to be collected.
⚠ Three of the eleven "convenient" refineries are Pyro contested zones. Do not route a full Quantainium hold through Checkmate, Orbituary or Ruin Station just because the map says refinery. - 08
Sell the refined output where it peaks
Refined Quantainium is the headline earner, recorded around 170,000 aUEC/SCU at the TDD in Cloudview, ArcCorp Mining Area 141, and Fallow Field and Canard View in Pyro; around 160,000 at Ashland and The Golden Riviera; around 150,000 at the TDDs in Area 18 and Commons, CBD Lorville and Stanton Gateway (Nyx); around 140,000 at Maintenance Room CRU-L5 and Levski. For context on the rest of the board: Gold sits near 29,000, Bexalite near 29,000, Taranite near 26,000, Borase near 27,000, Titanium near 8,100, Laranite near 8,600, Agricium near 9,600 and Corundum near 3,700. Hand-mineable gems sit in a different bracket again — Hadanite around 540,000 and Aphorite around 100,000 per SCU.
Field notes
↳ Hofstede is the forgiving head, Klein the punishing one, Lancet the fast-but-precise one — pick for the rocks, not the price tag.
↳ Klein-S1 has zero module slots; check slot count before you buy modules for it.
↳ Rime gives you ten uses, Lifeline only three — spend the cheap ones freely and save the scarce ones.
↳ Inert Materials sell for about 4 aUEC per SCU; an FLTR module pays for itself on any long run.
↳ Only 22 recorded locations have a refinery, and three of the handiest are Pyro contested zones.
↳ A full hold is not a valuable hold — check composition before you extract.
Watch the route
Video mechanics can age between patches. Use the written route above as the current checklist.

Research sources
Route text is independently summarized and cross-checked against these references.
RSI — Mining Basics ↗api.star-citizen.wiki — mining laser heads ↗api.star-citizen.wiki — mining modules ↗UEX Corp — refinery locations and ore prices ↗RSI — Patch notes ↗