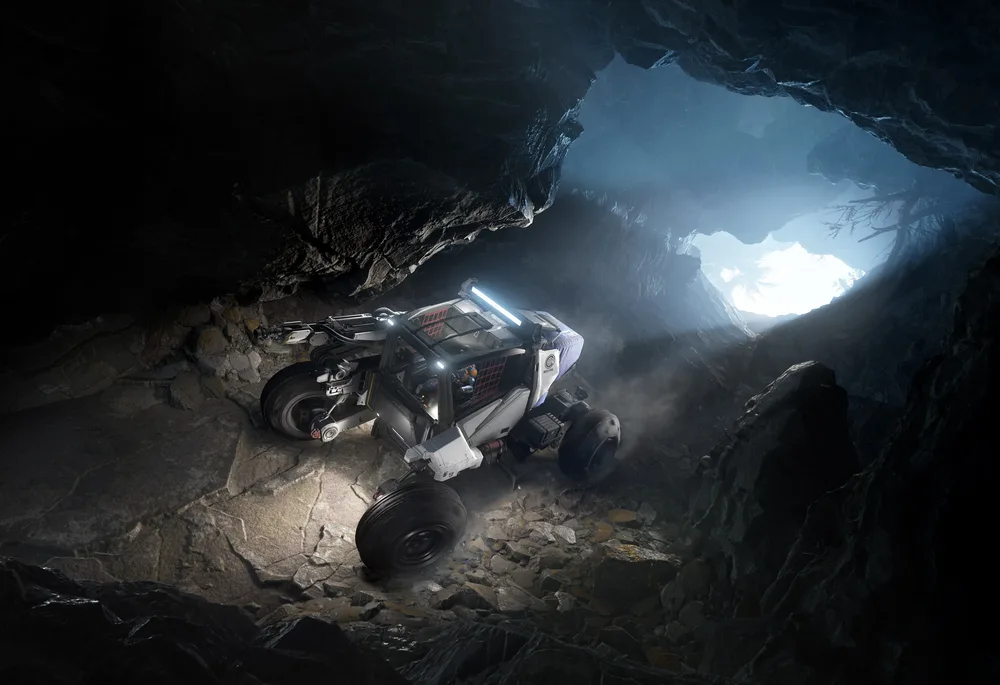
ROC mining combines vehicle logistics, surface navigation and a small-rock mining interface.
It is the highest return-on-investment loop available to a new player: a 2,468 aUEC rental against a 1.2 SCU hold of Hadanite worth roughly 720,000 aUEC at Aberdeen prices.
Aberdeen (Hurston's moon) is currently the standout Hadanite location — dense clusters, and two sale outposts right on the surface — so it's the default answer to "where do I go" rather than one option among many.
Three gems dominate the economics: Hadanite at 600,000 aUEC/SCU, Dolivine at 150,000 and Aphorite at 110,000, all sellable at both Aberdeen outposts. Janalite is worth 1,800,000/SCU but has to be taken to Hurston itself.
The carrier is both transport and extraction plan; keep it close enough to recover but not exposed to the mining laser or uneven terrain. Neither Aberdeen outpost has ASOP, so a lost carrier is a real trip back.
Sell through a destination and terminal that recognize the current physical or vehicle-held gem flow — HDMS-Norgaard and HDMS-Anderson both do.
Where you are going
Vantage Rentals - Lorville
Rents the Greycat ROC for about 2,468 aUEC, the cheapest desk in the game for it.
New Deal - Teasa Spaceport - Lorville
Sells the ROC outright for 98,753 aUEC and the two-seat ROC-DS for 134,663 aUEC.
Ground-vehicle terminal
Spawns or retrieves the Greycat ROC.
Carrier ship cargo bay
Safely transports the ROC (6 x 3.9 x 3.5 m, 22,470 kg) to the mining surface.
Aberdeen surface
Provides scan lanes and dense gem clusters.
HDMS-Norgaard / HDMS-Anderson
Sell the haul without leaving the moon: Hadanite 600,000 aUEC/SCU, Dolivine 150,000, Aphorite 110,000 at both.
HDMS-Stanhope / HDMS-Hadley / HDMS-Thedus / HDMS-Pinewood
The Janalite buyers — 1,800,000 aUEC/SCU, the highest per-SCU gem price in Stanton.
What you need and why
Provides the surface scanner, the size-1 Impact I Mining Laser and a 1.2 SCU ore hold plus a 1.08 SCU internal container.
Alternative: The ROC-DS carries a size-2 Impact II and a 3.4 SCU ore hold but needs a second crew member and a wider bay.The Impact I ships with -40% optimal charge window rate; Rieger-C3 (125% laser power), Torrent III (+40% optimal charge rate) and Vaux-C3 (125% extraction) fill its two slots and undo most of that penalty.
Alternative: Carry consumables instead: Surge (150% power / 15 s / 7 uses), Stampede (135% / 30 s / 6 uses), Optimum (catastrophic charge rate -80% / 60 s / 5 uses).Moves the vehicle between retrieval, surface and sale locations.
No substitute listedSurface temperature and atmosphere can be the real limiting factor.
Alternative: Choose a milder moon and monitor suit status.Long searches and recovery trips can outlast basic survival reserves.
No substitute listedCan scout, guard or help guide the vehicle back to the ship.
Alternative: Set a clear visual landing reference when solo.What to look for
Check ramp width, ceiling height and turning space before committing the ROC to the carrier.
A stable carrier position prevents a difficult or dangerous vehicle reload.
Use the ship and ROC scanners to distinguish likely gem deposits from general surface clutter.
Hadanite is worth 600,000 aUEC/SCU at Aberdeen; Dolivine 150,000 and Aphorite 110,000. A hold of the cheap two is not worth the same trip.
Watch the ROC mining display for charge trend and instability rather than holding maximum power. The Impact I is rated 520-2,600 mining power at an optimal 45 m and a 135 m maximum.
The ROC stops at 1.2 SCU and the ROC-DS at 3.4 SCU — plan the last rock of a run rather than fracturing one you cannot finish collecting.
Ensure the terminal sees the correct stored load before selling or moving it again.
When it goes wrong
Return to a flat area, reposition the vehicle and use a carrier with a proven ramp or lift clearance rather than forcing the collision geometry.
Lower altitude carefully, reduce scan scope where supported, and investigate only separated clusters on safe terrain.
Reduce or stop laser power, let the charge settle, then resume in controlled increments; abandon a risky rock rather than losing the vehicle.
Use a party marker, visual landmark and deliberate landing site; keep a recovery plan before driving far from it.
Confirm the current patch supports that terminal and storage path, then check that the load is in the expected vehicle, ship or local inventory state.
Rewards and progression
↳ Roughly 720,000 aUEC for a full 1.2 SCU ROC hold of Hadanite at HDMS-Norgaard or HDMS-Anderson, against a 2,468 aUEC rental.
↳ Around 2,040,000 aUEC for a full 3.4 SCU ROC-DS hold at the same rate, if you can crew and carry one.
↳ Secondary income from Dolivine (150,000 aUEC/SCU) and Aphorite (110,000 aUEC/SCU) picked up in the same cluster fields.
↳ A route to the ROC purchase at 98,753 aUEC once the loop is proven.
Departure checklist
□Rent the ROC at Vantage Rentals - Lorville for about 2,468 aUEC.
□Load it with ramp clearance (6 x 3.9 x 3.5 m, 22,470 kg).
□Fit the two module slots — Rieger-C3 and Torrent III are the default pair.
□Check suit and survival supplies.
□Fly to Aberdeen.
□Land on level ground away from settlement traffic.
□Confirm the gem type before mining — prioritise Hadanite.
□Keep the charge inside the green window at 45 m or closer.
□Stop at 1.2 SCU (3.4 SCU on the ROC-DS).
□Sell at HDMS-Norgaard or HDMS-Anderson; divert to Hurston only for Janalite.
- 01
Rent or retrieve the Greycat ROC
A ROC rental is one of the cheapest profitable purchases in the game: about 2,468 aUEC at Vantage Rentals - Lorville, which is also the closest rental desk to Aberdeen. The same vehicle is 2,598 aUEC at most Vantage L-point desks (ARC-L1/L2/L4, CRU-L1, MIC-L1/L2/L5, Terra Gateway) and 2,599 at HUR-L1 and HUR-L2. Buying one is 98,753 aUEC at New Deal - Teasa Spaceport - Lorville, so a single good run pays for the ship several times over. Retrieve it at a ground-vehicle terminal, identify its assigned bay or pad, and drive it onto the carrier using the ramp or lift. Check the carrier grid and door clearance before takeoff; do not leave the vehicle where a closing ramp can trap it.
- 02
Fly to Aberdeen
Aberdeen — Hurston's moon — is currently the single best Hadanite location in the game, with dense clusters packed close together across its surface; Daymar and Yela are viable secondary options if you're based near Crusader instead. Both sale outposts publish Medium and Large pads with open-pad loading only — no enclosed hangars, and no ASOP at either one — so bring the carrier you intend to leave on. Land on open, reasonably level ground away from settlement traffic rather than on a steep ridge.
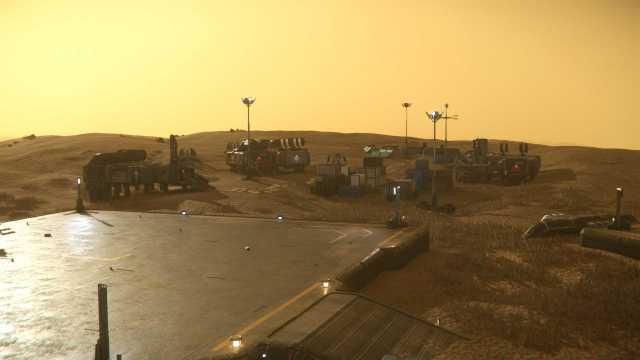
In-game screenshot of the HDMS-Anderson commodity terminal, Aberdeen, Hurston, StantonScreenshot by Zatecc — © Cloud Imperium Games, via the UEX Corp community database ↗ - 03
Scan low and slow
From the carrier, use scan mode and controlled pings while flying low enough to isolate small signatures without striking terrain. When a possible cluster appears, land nearby, exit safely and use the ROC scanner to distinguish gem rocks — Hadanite, Aphorite, Dolivine — from ordinary surface clutter. Only Hadanite is worth a dedicated trip to Aberdeen: it sells for 600,000 aUEC/SCU there against 150,000 for Dolivine and 110,000 for Aphorite.
- 04
Work the Impact I inside its numbers
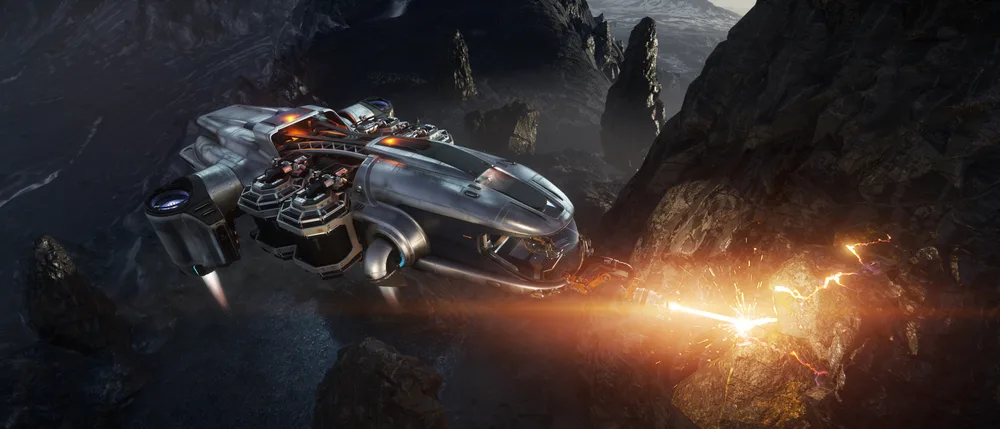
The ROC carries a size-1 Thermyte Concern Impact I Mining Laser: optimal range 45 m, maximum range 135 m, mining power 520-2,600, extraction throughput 2,775, and two module slots. Its built-in profile already trades power for forgiveness — laser instability -10%, optimal charge window size +20%, inert materials -30%, but deposit resistance +10% and optimal charge window rate -40%. That last figure is why the ROC feels slow: fill the two module slots to compensate. Rieger-C3 gives 125% mining laser power (Rieger-C2 120%, Rieger 115%), Torrent III gives +40% optimal charge rate (Torrent II +35%, Torrent +30%), and Vaux-C3 gives 125% extraction laser power for only -5% charge rate. The ROC-DS mounts the larger size-2 Impact II instead.
- 05
Fracture and collect methodically
Position the ROC 45 m or closer with a clear view of the rock, keep the charge inside the green window, and pause if the charge trend runs hot. Consumable modules are the fix for a stubborn rock rather than holding maximum power: Surge is 150% laser power for 15 seconds across 7 uses (at +10% instability and -15% resistance), Stampede is 135% power for 30 seconds across 6 uses, Brandt is 135% power for 60 seconds across 5 uses with -30% shatter damage, and Optimum cuts catastrophic charge rate by 80% for 60 seconds across 5 uses when a deposit keeps threatening to blow. After fracture, vacuum only accessible fragments and check the vehicle inventory before moving to the next cluster — the ROC holds 1.2 SCU of ore, the ROC-DS 3.4 SCU.
- 06
Sell at HDMS-Norgaard or HDMS-Anderson
Both outposts sit on Aberdeen itself and both pay the game-wide top rate for Hadanite: 600,000 aUEC/SCU, matched only by the ArcCorp Mining Areas and Shubin facilities elsewhere in Stanton. A full 1.2 SCU ROC hold of Hadanite is therefore roughly 720,000 aUEC, and a ROC-DS at 3.4 SCU is around 2,040,000 — against a 2,468 aUEC rental. Aphorite is 110,000/SCU at both, which is the top rate anywhere; Dolivine is 150,000 here against a 160,000 best at the Shubin SM0 facilities and ArcCorp Mining Areas 141/157, a difference too small to justify leaving the moon. Janalite is the exception worth hauling: no terminal on Aberdeen buys it, but HDMS-Stanhope, HDMS-Hadley, HDMS-Thedus and HDMS-Pinewood on Hurston itself pay 1,800,000 aUEC/SCU. Return the ROC to the carrier, fly to whichever outpost's commodity terminal matches your haul, verify the listed contents, and sell only after the terminal recognizes the stored load.
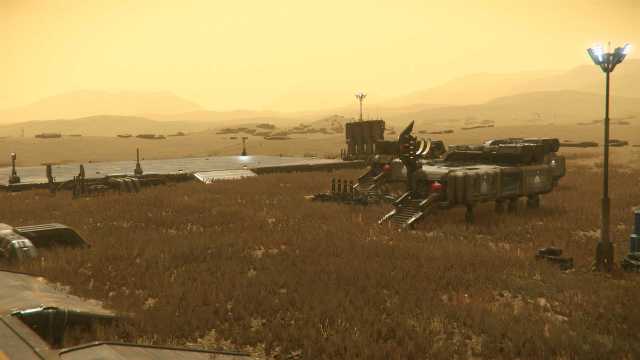
In-game screenshot of the HDMS-Norgaard commodity terminal, Aberdeen, Hurston, StantonScreenshot by Zatecc — © Cloud Imperium Games, via the UEX Corp community database ↗
Field notes
↳ Aberdeen is the current best single Hadanite location — start there before searching elsewhere.
↳ The whole loop is bankrolled by a 2,468 aUEC rental at Vantage Rentals - Lorville. There is no reason to buy a ROC for 98,753 until you have run it several times.
↳ Hadanite at 600,000 aUEC/SCU is worth roughly 5.5x Dolivine and Aphorite combined per SCU — if the hold is filling with the cheap gems, move to a new cluster field.
↳ Neither HDMS outpost on Aberdeen has an ASOP terminal, and their maximum freight container is 24 SCU. Losing the carrier on the surface means a trip back from Lorville or an orbital station.
↳ Park the carrier in stable terrain and leave enough room for the ROC to turn around.
↳ Watch suit temperature, hydration and oxygen — Aberdeen runs hot enough that this can end a run before cargo space does.
↳ Do not keep lasing when the ROC UI signals an unsafe charge trend — run an Optimum module (catastrophic charge rate -80% for 60 seconds) instead.
↳ A second player can scan with the ship while the miner works a confirmed cluster, or crew the second seat of a ROC-DS for nearly triple the ore hold.
Watch the route
Video mechanics can age between patches. Use the written route above as the current checklist.

Research sources
Route text is independently summarized and cross-checked against these references.
Wiki - Glacosite ↗Star Citizen Wiki API - Greycat ROC ↗Star Citizen Wiki API - Impact I Mining Laser ↗UEX Corp - commodity and vehicle rental prices ↗RSI - Mining Basics ↗