This is a contested-zone endgame route, not a repeatable solo errand — budget 2-5 hours and expect PvP at every stop.
The chain has three independent blockers: 7 unique DCHS boards, 1 red Supervisor keycard, and a live PYAM-EXHANG-0-1 base — missing any one stops the run cold.
Every timer in this chain (the Ruin Station Vault, the PYAM-SUPVISR printer, the PYAM-EXHANG-0-1 cycle) has drifted across recent hotfixes — verify against a live tracker, not a screenshot of a past run.
Where you are going
Checkmate Station
Print DCHS-01, DCHS-02, DCHS-03 via blue-keycard printers.
Orbituary
Print DCHS-04 and DCHS-07; blue printers sit behind a red Supervisor door.
PYAM-SUPVISR-3-4 / -3-5
The only source of the red PYAM Supervisor Keycard, needed to open Orbituary/Checkmate printer rooms and the Ruin Station vault approach.
Ruin Station (Ghost Arena)
The Vault (game’s only Timer Door, 20 min closed / ~1 min open) holds DCHS-05 and DCHS-06 behind three separate Gold Access keycards.
PYAM-EXHANG-0-1
Insert the complete 7-board set and claim the reward ship at its ASOP terminal.
What you need and why
The route includes exposed FPS spaces and vacuum transitions.
No substitute listedLong lanes and tight airlocks need different handling.
No substitute listedResupply cannot be assumed inside contested zones.
No substitute listedMoves loot while limiting time in the open.
Alternative: A teammate can cover manual carrying.Grade-A components and rare FPS weapons spawn alongside the reward ship, but it claims empty.
Alternative: Make two extraction trips before the 10-minute hangar-reseal window.Preserves the run after a carrier death.
Alternative: Agree on a nearby pickup contact.What to look for
Confirm the exact DCHS-0X name in inventory — a duplicate does not replace a missing unique board.
The single most common blocker — without it, Orbituary/Checkmate printer rooms and the Ruin vault approach stay locked.
Blue (30s warning) then bright white (open) in the Ghost Arena central room — the Timer Door itself has no manual control.
Need at least one green light and zero red lights before the base will accept boards.
When it goes wrong
It’s almost certainly on its ~15–30 min cooldown, not gone — note the time and check other zones while it resets.
You need the PYAM Supervisor Keycard from PYAM-SUPVISR-3-4/-5 specifically — no other keycard substitutes.
It runs on a fixed ~20-minute cycle with no manual override — wait for the blue-to-white light telegraph rather than assuming it’s broken.
Check the 5-light indicator first — with any red light lit or all lights off, the base won’t accept the set regardless of board count.
Stop the push, secure remaining boards and use the staged recovery plan rather than sending everyone back blindly.
Do not feed the same choke point; scout an alternate timing or withdraw with secured boards.
Rewards and progression
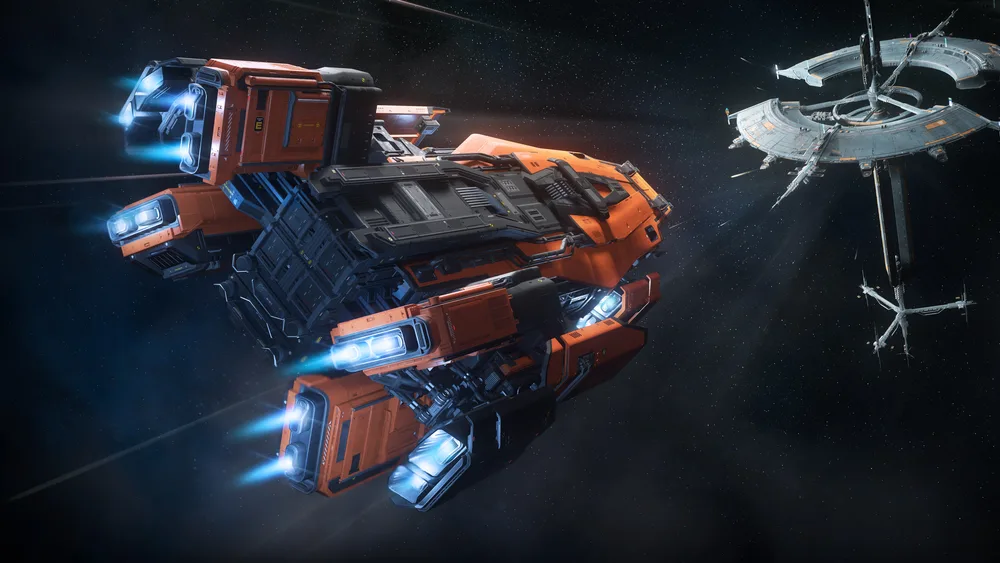
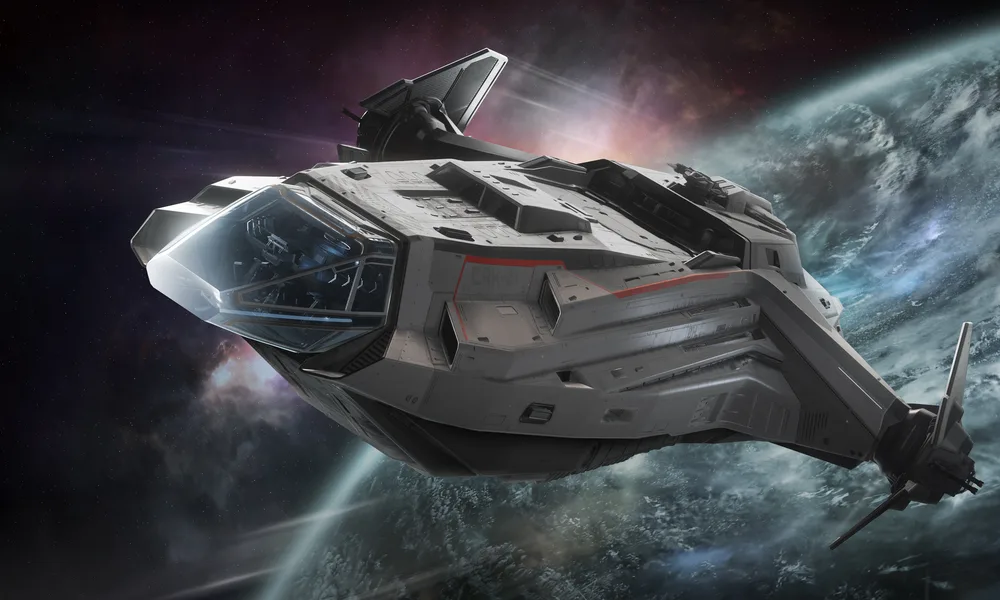
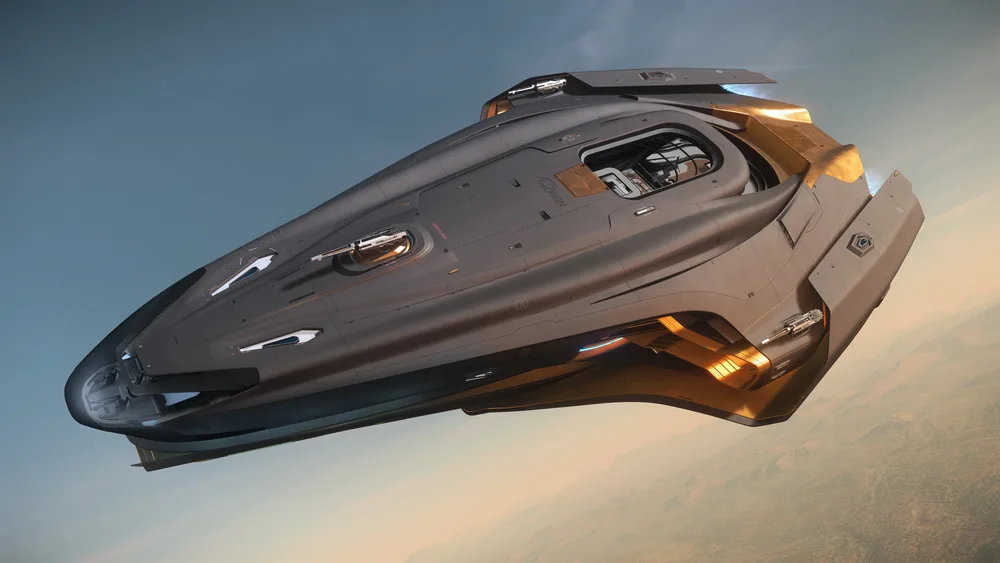
↳ One of eight Executive/War Special ship variants (Hornet Mk II, F8C Lightning, Corsair, Cutlass Black, Syulen, Guardian MX, Meteor, Scorpius — verify the exact ASOP listing, naming varies)
↳ Grade-A ship components and rare FPS weapons spawning alongside the claimed ship, subject to live availability
Departure checklist
□Set regeneration and a refuel fallback.
□Assign a board ledger and carrier rotation.
□Print/loot DCHS-01/02/03 at Checkmate.
□Print/loot DCHS-04/07 at Orbituary.
□Get the red Supervisor Keycard from a PYAM-SUPVISR outpost.
□Beat the Ruin Station Vault timer for DCHS-05/06.
□Confirm PYAM-EXHANG-0-1’s 5-light indicator is valid.
□Insert all seven boards and claim at ASOP.
□Load a cargo ship and extract inside the 10-minute window.
- 01
Plan the run
The chain needs three things before you fly anywhere: seven unique DCHS Comp-Boards (DCHS-01 through DCHS-07 — three from Checkmate Station, two from Orbituary, two from Ruin Station’s vault), a red PYAM Supervisor Keycard (printed at one of two separate asteroid outposts, PYAM-SUPVISR-3-4 or -3-5), and the currently active PYAM-EXHANG-0-1 base near the Pyro star. Set regeneration at a reachable clinic first and name a refuel fallback on the map — Pyro routes turn into a fuel problem fast after a death or detour.
- 02
Print boards at Checkmate Station
Checkmate sits at Monox’s (Pyro II) L4 Lagrange point and is Rough & Ready territory. Its blue-keycard printers (multiple terminals, current community trackers count three active this patch) open the security doors guarding DCHS-01 Executive Access Protocols, DCHS-02 Security Encryption and DCHS-03 Vehicle Management. Boards print on their own tablet on roughly a 15–30-minute cooldown depending on patch — if a tablet looks empty, it is on cooldown, not permanently gone.
⚠ Do not keep every board on one player or ship; a death, despawn or server recovery can end the whole run. - 03
Print boards at Orbituary
Orbituary is in high orbit above Bloom (Pyro III), also Rough & Ready-run. Its two blue-keycard printers sit behind a red Supervisor door, so you may need to loop back here after step 4. They gate DCHS-04 Power Processing and DCHS-07 Engineering Maintenance. Sweep side rooms only after the entry team has secured elevators and airlocks, and mark the route back to your ship — an unobserved lift or exterior door is a common ambush point.
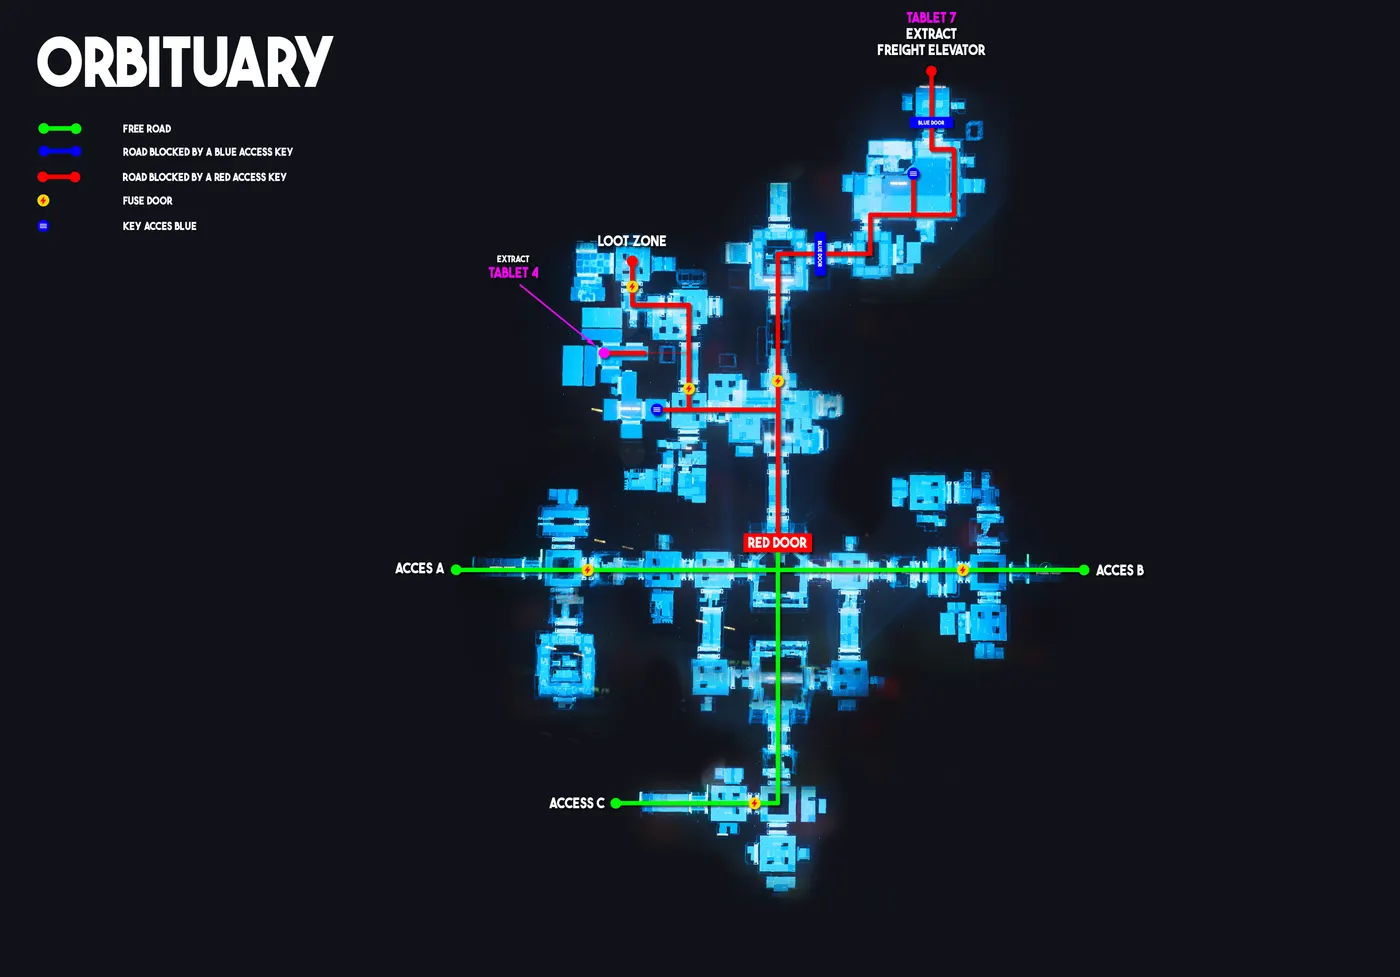
Player-made floor map of the Orbituary contested zone in PyroScreenshot by Terada via Star Citizen Wiki (CC BY SA 4.0) — game content © Cloud Imperium Games ↗ - 04
Get a red Supervisor keycard
The PYAM Supervisor Keycard (community: red) only prints at PYAM-SUPVISR-3-4 or PYAM-SUPVISR-3-5 — two secondary asteroid outposts at Bloom’s L5 Lagrange point, separate from the three main compboard zones. Reaching the printer involves a short physical puzzle rather than a straight walk-in; it reprints roughly every 30 minutes. This card is what opens the red Supervisor doors blocking Orbituary’s and Checkmate’s printer rooms and the Ruin Station vault approach — without it you are locked out of at least four boards.
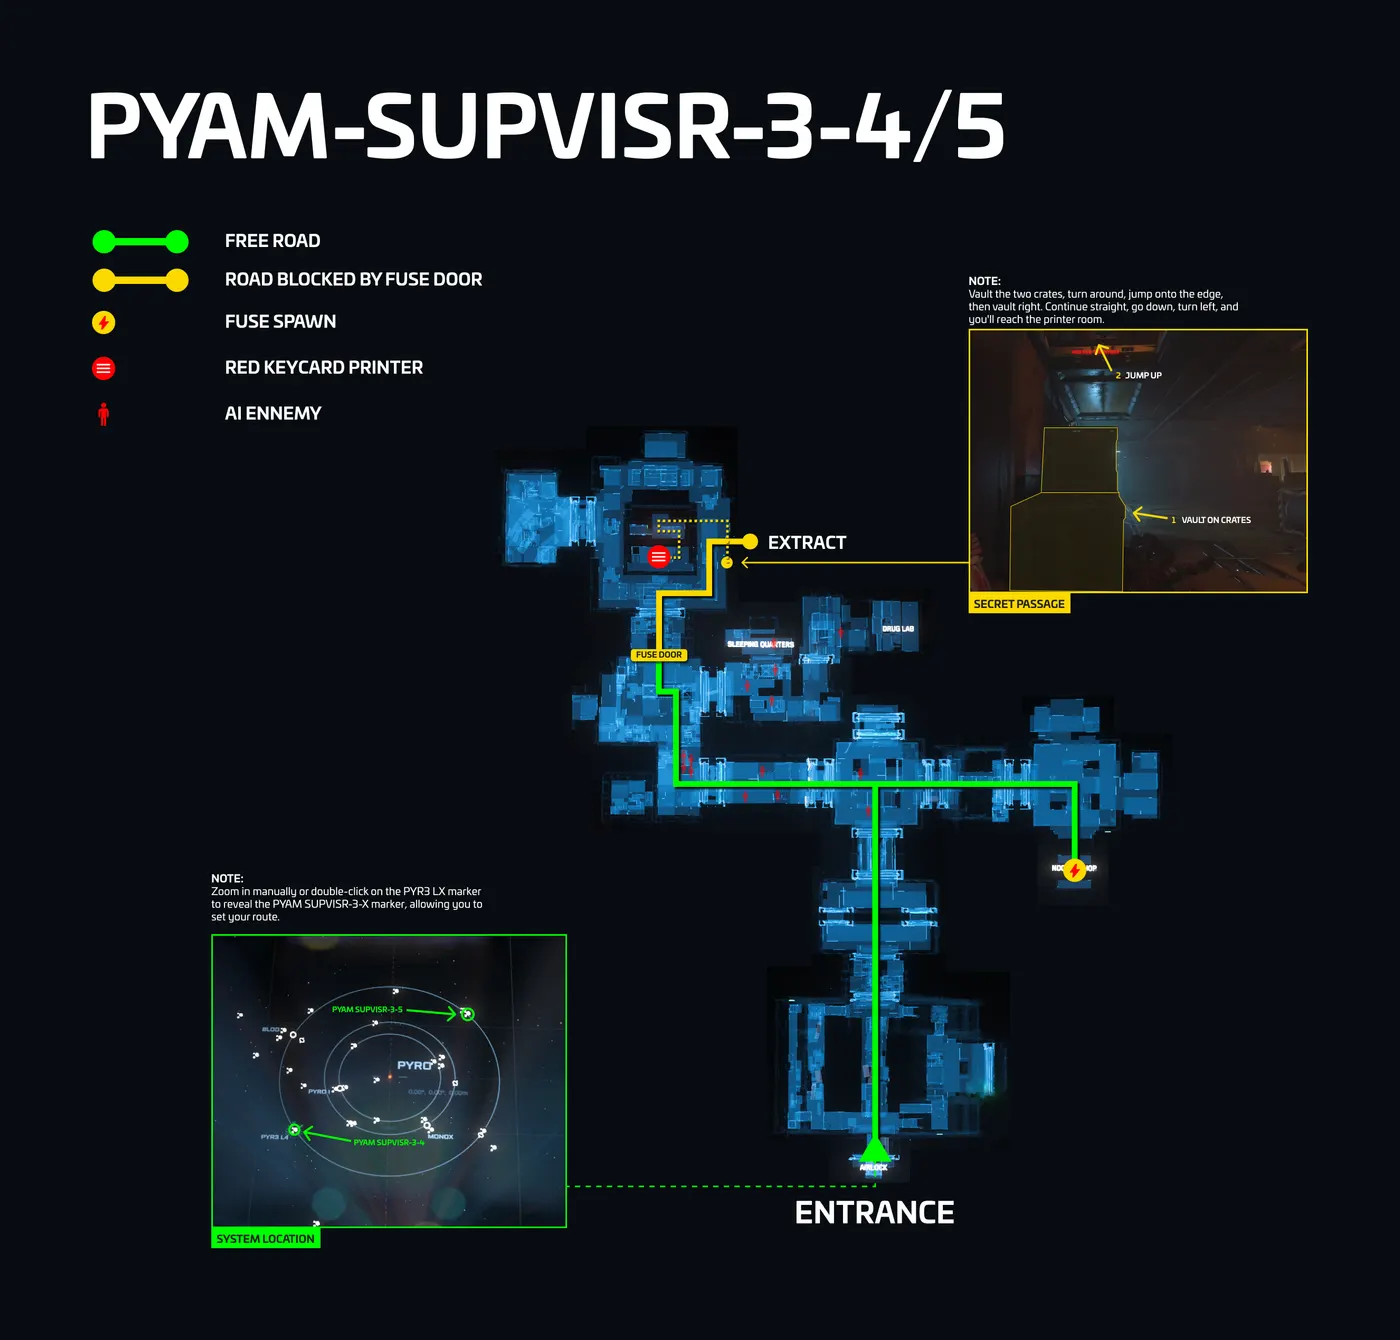
Map of the PYAM-SUPVISR-3-4 and PYAM-SUPVISR-3-5 asteroid bases where red Supervisor keycards printScreenshot by Kerast via Star Citizen Wiki (CC BY SA 4.0) — game content © Cloud Imperium Games ↗ - 05
Beat the Ruin Station vault timer
Ruin Station orbits Terminus (Pyro VI) inside an asteroid belt and hosts the Ghost Arena contested zone. Its Vault is gated by the game’s only Timer Door: it opens for about 1 minute every 20 minutes and cannot be forced from either side. A telegraph gives you warning — blue lights in the central room 30 seconds before opening, turning bright white while it’s actually open. Inside, three separate keycards (each behind its own fuse door: Last Resort, Crypt, Wasteland — all "Gold Access" items) unlock three different loot doors. DCHS-06 Communication sits in the second room past the door; DCHS-05 Orbital Positioning is a printer behind the Crypt Keycard door in that same room, alongside Grade-B ship components.
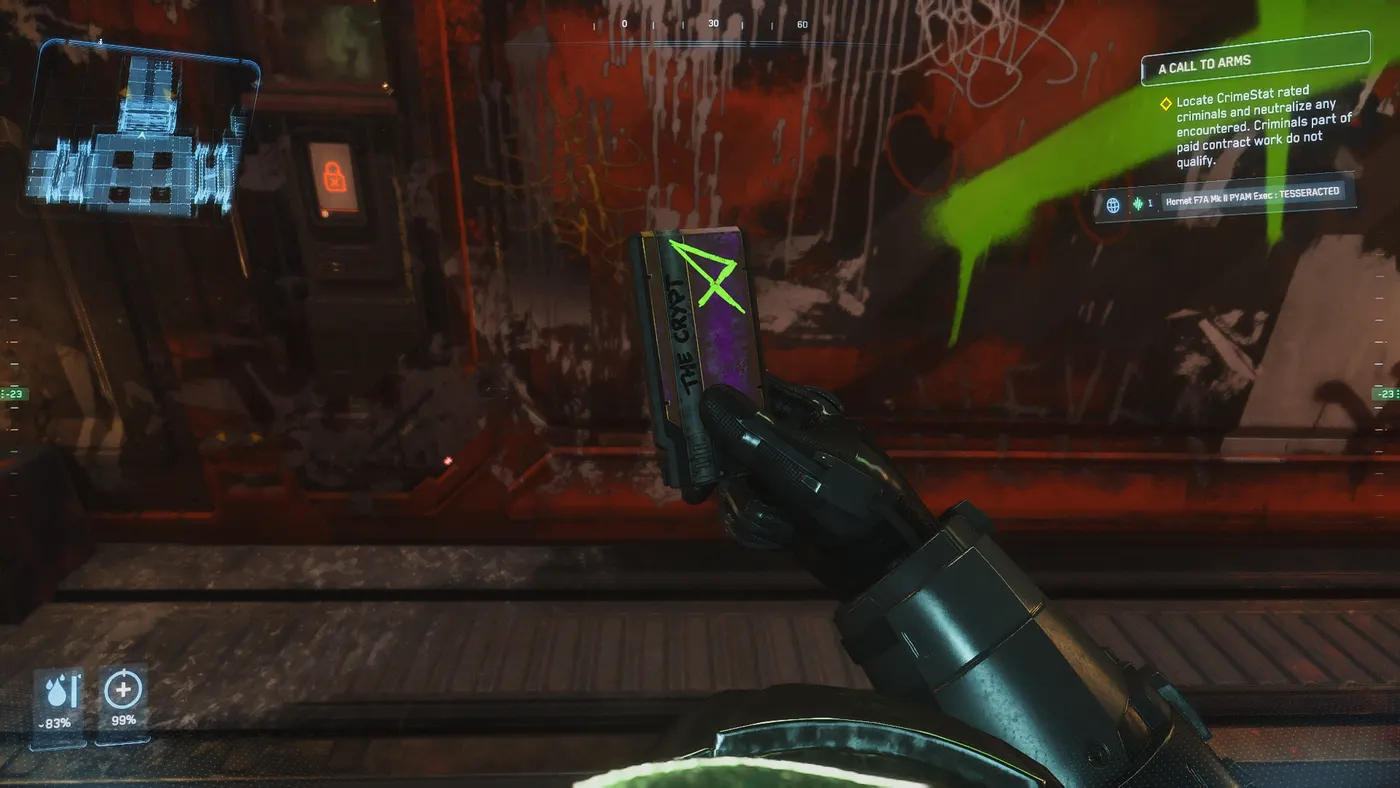
The Crypt Keycard held up in front of the Crypt door inside the Ruin Station vaultScreenshot by Tesseracted via Star Citizen Wiki (CC BY SA 4.0) — game content © Cloud Imperium Games ↗ ⚠ The door will not reopen early for stragglers, and anyone still inside Hangar/Engineering areas elsewhere in this chain when a timer closes is killed, not just locked out — don’t treat any of these timers as approximate. - 06
Find the active PYAM-EXHANG-0-1 base
Three asteroid bases south-west of the Pyro star share the single mobiGlas marker PYAM-EXHANG-0-1; only one is active at a time. Check the five lights in its EVA area before committing a full team — it only accepts boards when at least one is green and none are red. The full cycle runs roughly 185 minutes (about 120 minutes charging, one light every 24 minutes, then about 65 minutes open, one light going out every 12 minutes plus a short cooldown). This offset drifts with hotfixes, so cross-check a live community tracker rather than trusting a fixed schedule you read once.
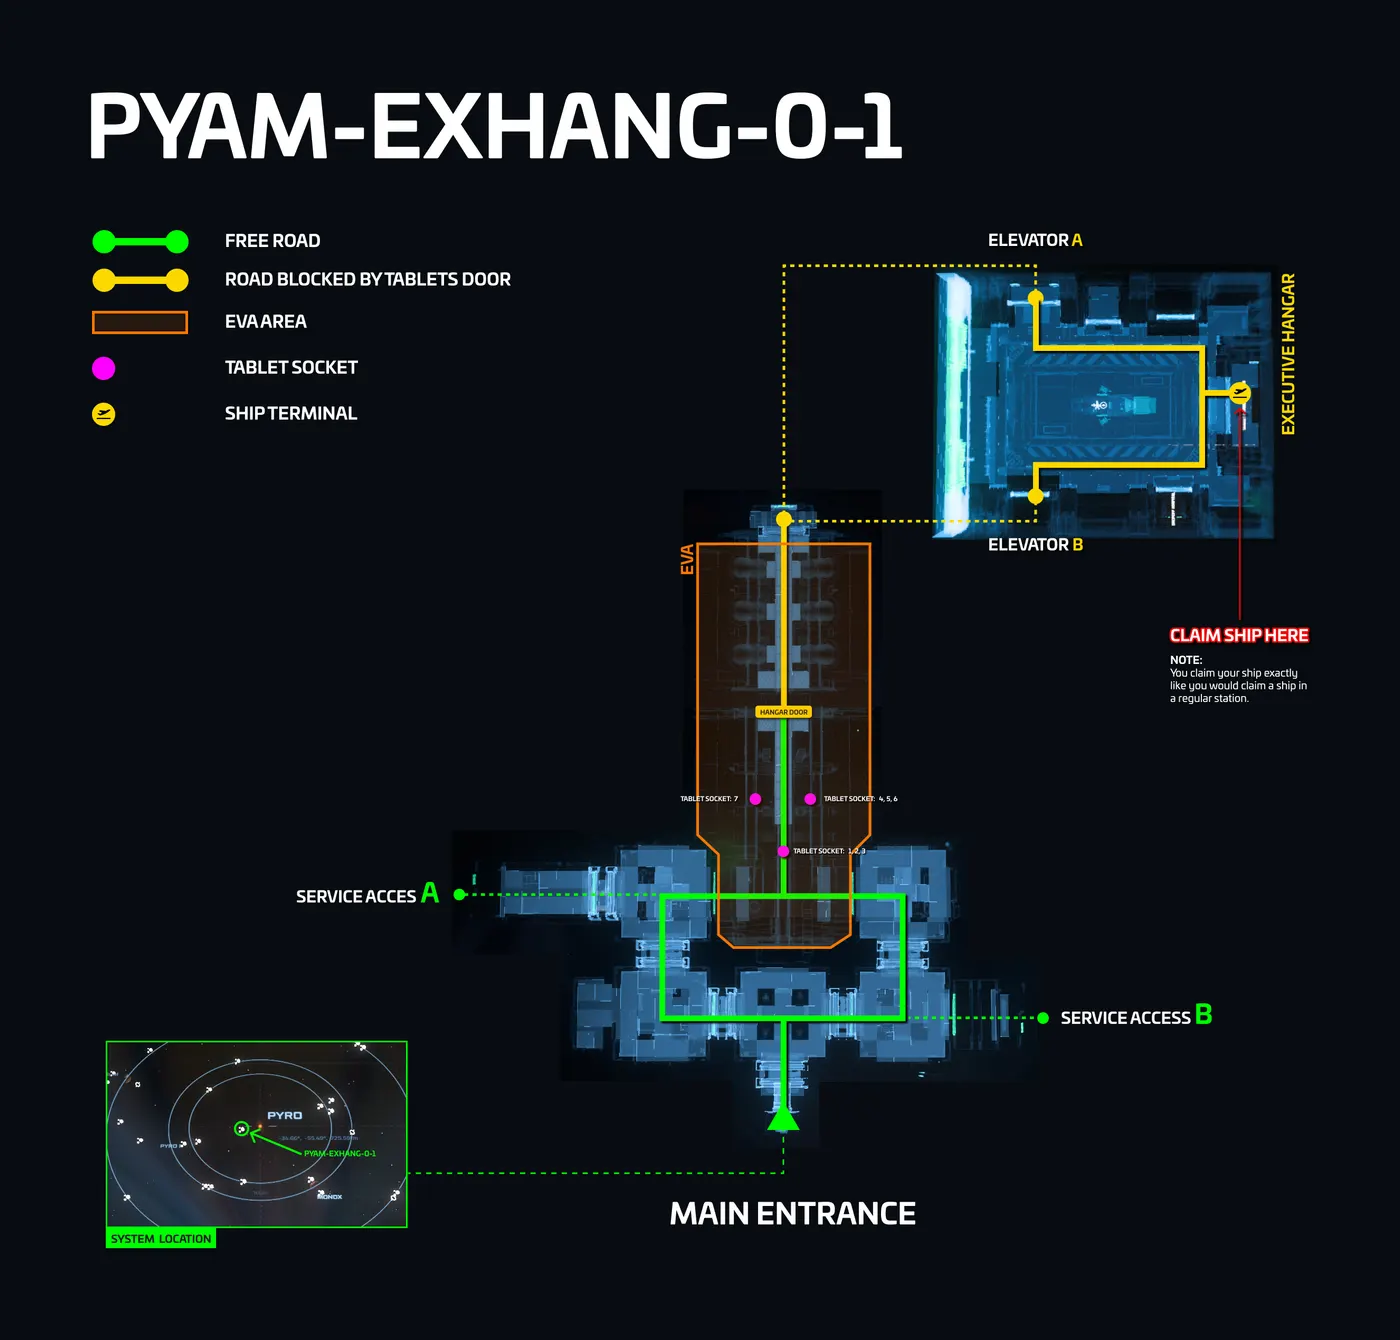
Map of a PYAM-EXHANG-0-1 executive hangar asteroid baseScreenshot by Kerast via Star Citizen Wiki (CC BY SA 4.0) — game content © Cloud Imperium Games ↗ - 07
Insert all seven boards
Clear and hold the zero-g EVA area, then insert each of the seven DCHS boards into its own receptacle along the lit pipes. Compare every physical board against your ledger before inserting — a duplicate does not replace a missing unique board and the interface will not accept an incomplete set. Keep one player on the terminal, one watching the approach and one guarding the extraction route until the door visibly opens.
- 08
Claim your ship and extract
The door to Engineering stays open about 30 minutes once unlocked, and you have roughly 12 minutes to actually enter the hangar before it seals. Claim your reward ship at the ASOP terminal — it’s one of eight Executive/War Special variants (Anvil F7A Hornet Mk II, Anvil F8C Lightning, Drake Corsair, Drake Cutlass Black, Gatac Syulen, Mirai Guardian MX "Wikelo War Special", RSI Meteor, RSI Scorpius "Wikelo War Special" — exact in-game suffixes vary, so read the ASOP listing rather than assuming a name). Once claimed, the hangar door opens then permanently seals again after about 10 minutes — load rare FPS weapons and Grade-A components into your cargo ship first and keep it positioned for an immediate departure.
Field notes
↳ Recon each station with a disposable scout before bringing the board carrier.
↳ Record the exact DCHS board numbers, not just a count — duplicates don’t complete the set.
↳ The red Supervisor keycard is the single most common blocker — get it before you waste time stuck outside a printer room.
↳ Cross-check a live PYAM-EXHANG-0-1 timer site before committing; the cycle offset shifts with hotfixes.
↳ Stage spare suits, a med route and a recovery ship outside the immediate contested zone.
↳ Bring a cargo ship — the loot that spawns alongside the reward ship is often worth more than the ship itself.
Watch the route
Video mechanics can age between patches. Use the written route above as the current checklist.

Research sources
Route text is independently summarized and cross-checked against these references.
Star Citizen Wiki — Executive Hangars ↗Star Citizen Wiki — Contested Zones (Timer Door) ↗CStone item finder — DCHS Comp-Boards ↗Community PYAM-EXHANG-0-1 timer tracker ↗RSI — Alpha 4.9 known issues ↗RSI — Spectrum and patch notes ↗