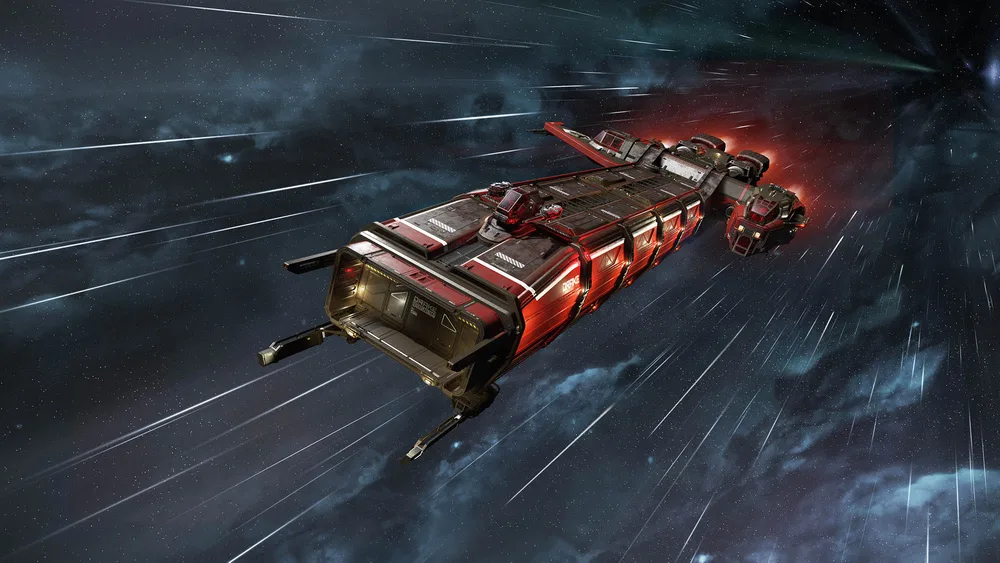
Battaglia progression branches through several interfaces: Contract Manager, ship scanning, FPS devices, repair components, delivery terminals and reward storage.
Prospecting is a repeatable lower-risk route, while boarding, investigation and final mining work add combat, physical interaction and extraction risk.
The live accepted briefing determines the correct belt, facility, component or destination; older route details are supporting context only.
First-completion rewards need an audit trail because they may be delivered to a specific inventory rather than appearing in the mission payout.
Where you are going
Levski or People Service Station
Sets regeneration, stages gear and gives a reliable return point.
Keeger Ring
Hosts contract-directed prospecting clusters when the briefing sends you there.
Glaciem ring
Alternate prospecting area and travel leg for compatible scans.
Ship in Distress Caterpillar
Boarding, hostile-clearance and repair objective.
Marked data or service site
Holds bodies, black boxes, disks or a delivery endpoint.
What you need and why
Covers travel and early scan routes between Nyx locations.
Alternative: Use a rented or claimable backup when the primary ship is lost.Boarding and investigation branches can require close-quarters combat and recovery.
No substitute listedSupports physical-object handling and repair objectives when requested.
Alternative: Check mission-provided supplies beside the component before leaving.Needed for branch-specific resource or material work.
Alternative: Delay that branch until the correct ship or crew is available.Tracks branch completion and items sent to home storage.
Alternative: Capture the completion UI and audit after each new contract.What to look for
Contract Manager should show the issuer and tier that correspond to your live reputation progress.
Individual asteroid markers signal when focus-scanning is likely to register for a prospecting objective.
Confirm the boarded Caterpillar is the mission vessel and its crew are the actual hostile targets.
Look for the exact body, black box, disk, component or delivery surface named in the objective.
After completion, inspect the stated home inventory, blueprint collection or claim interface.
When it goes wrong
Stay in scan mode, wait for yellow individual markers, then focus-scan the marked rock and confirm the counter before leaving.
Read the mission objective, do not fire on the contract vessel, board it and engage only confirmed hostile crew.
Inspect the component area and contract text for mission-supplied equipment, then use the stated light SRT/RMC route if still required.
Recheck the exact target object and destination interface, complete the interaction, and wait for the contract update before extracting.
Verify first-completion eligibility and inspect the intended home-location, blueprint or vehicle interface before repeating the branch.
Rewards and progression
↳ Reputation access to Associate, Trusted Associate and prestige Battaglia work.
↳ Branch-specific armour, clothing, weapons, blueprints or ship-related rewards when the live completion text grants them.
Departure checklist
□Set Nyx regeneration.
□Accept and read one compatible Battaglia contract.
□Bring the branch-specific tool or ship.
□Use the marked belt/site/interface.
□Confirm each objective update.
□Audit first-completion rewards.
□Stage recovery before prestige work.
□Record patch-sensitive requirement changes.
- 01
Meet the opening contract pool
In Nyx, open mobiGlas Contract Manager and filter for Battaglia work. Start with the currently available prospecting, mining or Ship in Distress contract, read the issuer, destination type and tools listed in the full briefing, then set the route from the mission marker.
- 02
Use prospecting as repeatable reputation
Stack only compatible scanning contracts while travelling between the Keeger ring and Glaciem ring. At the indicated belt, remain in scan mode and wait for yellow mission markers on individual asteroids before focus-scanning; early scans can fail to register on a slow server.
⚠ Objective updates are server-dependent. Scanning before markers appear can fail to count the rock. - 03
Run Ship in Distress carefully
Approach the marked friendly Caterpillar as a boarding objective, not a free-fire target. Board through the available access route, clear confirmed hostile crew, then use the repair interface on the requested power-plant component; check nearby mission supplies before assuming your tool is missing.
- 04
Unlock associate investigation and data work
When Associate offers appear in Contract Manager, use the mission marker to enter wrecks, service locations and data sites. Search bodies, containers and device surfaces closely for the named person, black box or disk, and secure hostile rooms before using the terminal or inserting media.
- 05
Advance through trusted deliveries
For Trusted Associate work, read the delivery endpoint and storage condition before collecting salvage material, reverse data or black boxes. Use the named kiosk, terminal, cargo interface or hand-in surface and confirm the objective changes before leaving the destination.
- 06
Audit first-completion rewards
After each new branch, inspect the home-location inventory, personal storage, blueprint collection or vehicle claim screen named by the reward. Record confirmed arrivals before repeating the mission because some rewards are first-completion or patch-specific.
- 07
Plan prestige work as an expedition
For prestige scans, rare-resource mining or a MOLE-scale final job, combine overlapping objectives only after each is individually eligible. Stage fuel, repair, crew roles and extraction before accepting; exact resource requirements and reward routes are patch-sensitive.
Field notes
↳ Do not fire on the Caterpillar at Ship in Distress even if the HUD initially looks hostile.
↳ Know which threshold you are pushing toward: Associate opens at 2,400 standing, Trusted Associate at 6,000, then Prestige 1 at 10,800, Prestige 2 at 30,000 and Prestige 3 at 69,600. Prestige 3 is nearly seven times the whole climb to Prestige 1, so plan it as a long campaign rather than an evening.
↳ Keep a written reward checklist because many unlocks go to the home location.
↳ Use a fresh or low-load shard when scan markers consistently update slowly.
↳ Treat resource quantities, reputation values and reward conditions as patch-sensitive.
Watch the route
Video mechanics can age between patches. Use the written route above as the current checklist.


Research sources
Route text is independently summarized and cross-checked against these references.
MrKraken - Battaglia Full Contracts Guide (4.9) ↗Alpine Rum - Battaglia reputation route (4.9) ↗